


Windows 7 Tips – How to install or delete fonts

This tutorial will guide you on how to install font in Windows 7 or delete them easily in few clicks.
When you work with a computer you see different types of text designs everywhere, specially in a Word processors. These text designs are collection of numbers, symbols, and characters with a certain typeface, along with other qualities, such as size, spacing, and pitch and collectively called as a Font.
Windows supports two types of fonts i.e. TrueType fonts and OpenType fonts.
- TrueType fonts can be scaled to any size and are clear and readable in all sizes. They can be sent to any printer or other output device supported by Windows.
- OpenType fonts are related to TrueType fonts, but typically incorporate a greater extension of the basic character set, such as small capitalization, old-style numerals, and more detailed shapes, such as glyph and ligatures. They are also clear and readable in all sizes and can be sent to any printer or other output device supported by Windows.
Windows 7 have many types of fonts by default in it but if want to use any other kind of font with Windows and other programs, you have install it first. To install a font you must have font files with you. You can either download them with fonts providing websites or take font files from someone who already have installed on his computer.
To install font in Windows 7
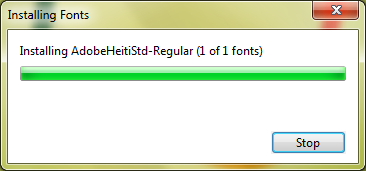
- Right-click the font you want to install and click Install.
- You can also install a font by dragging it into the Fonts option available in Control Panel.

To delete a font
- Click on Start, select Control Panel and then open Fonts folder.
- Click the font you want to delete. To select more than one font at a time, press and hold down the Ctrl button while you click each font.
- On the toolbar, click Delete.


